
The Technical Top
There is a disconnect in the part of my brain that does math. I can explain exactly how to do complex calculations, but when I start to use numbers, errors are inevitable. This is one of the ways I catfished my boyfriend when we first met in college. I bragged about how I’d gotten top scores on my Calculus and Physics AP exams, and he saw that as an opportunity to get free tutoring for those classes. Unfortunately for both of us, everything fell apart when he came to me for help doing his homework!
That’s why I’m excited to share this pattern for The Technical Top. The stitch pattern mimics the look of graph paper, and the pattern format is inspired by the technical challenge from the Great British Bake Off. This way, I can give you the “how”, but you don’t have to check my work for stitch counts or any of that other silly math.
In all seriousness, I think this pattern is perfect for anyone who wants to test their crochet instincts. If there’s anything I’ve learned from watching GBBO, the key to a successful technical challenge is to trust your gut and to be consistent. Those same principles apply here. That being said, this pattern is also great for anyone who just hates reading patterns (me).
This is a camp shirt - a button up collared, short sleeve top that has a flowy knit-like texture. It is fully crocheted in the block stitch, but I won’t ruin the fun by giving too many details away. Please tag me on socials @jacqofyarns so that I can see your progress. I can’t wait to see how you do!
On you marks… Get set… Crochet!

Now available as a detailed pattern! Purchase an ad-free PDF of The Technical Top here.
Materials
Yarn in 2+ colors
Crochet hook
Scissors
Darning needle
Measurements Needed
If you are making this top as a gift, refer to the standard measurements on the Craft Yarn Council website.
Sleeve length
Women’s 3 - 10”
Men’s 5 - 12”
Arm circumference
Bust
Torso length
Notes on Ease
This is meant to be a boxy fit shirt. Add positive ease to the arm circumference and bust as you see fit.
The Stitch Pattern
Right Side Row (RS): *3 dc in ch 2 sp below, ch 1* to corner sp. [3 dc, ch 3, 3dc, ch1] in corner sp
Wrong Side Row (WS): *sc in ch 1 sp below, ch 2* to corner sp. [sc, ch 3, sc, ch 2] in corner sp
Instructions
Make a swatch in the form of a 4 sided granny square. Use one color for the right side and a different color for the wrong side
Make a hexagon panel following the instructions below:
-
Start your first hexagon panel with 2 RS rounds. The first round will include (6) 3 dc, ch 1 repeats. The second round will form (6) corner spaces.
Change colors. Starting with a WS round, repeat The Stitch Pattern until the radius of the panel measures your desired sleeve length, ending on a RS round. Cut yarn and tie off.
-
Working in rows, join yarn in a corner sp and work along 5 sides of the hexagon, starting with a WS row. Continue to repeat The Stitch Pattern until the 6th side of the hexagon measures your desired arm circumference (plus any positive ease), ending on a RS row. On the last RS row, join the 5th side to the first side by replacing each ch 1 with a sl st to the corresponding ch 1 on the first side. Cut yarn and tie off.
A note on RS rows: Start and end each row with a dc in the first/last SC
-
From this point on, work in rows on the 3 remaining sides of the hexagon. Continue to repeat The Stitch Pattern until the bottom side of the hexagon measures half your desired bust measurement (plus half of any positive ease) ending on a RS row. Round down if needed, as we will add 2 more RS rows for the button band.
If the front/back seam sides of the top reach your desired torso length before reaching your bust measurement on the bottom side, cut yarn and tie off. Then, work the front and back sides separately, still ending on a RS row.
On the last 3 RS rows, dec on the front side by replacing the last 3 dc with a dc3tog. Pick up the first sc on the next row in the first ch 1 sp.
Note: The first couple rows of this section can be used to add stripes to the design of your top.
-
Repeat the above instructions to create a second hexagon panel.
The front decreases on the last 3 RS rows will be at the beginning of the row to make the other side.
On the last RS row, join the back seams together by replacing each ch 1 of the current back seam side with a sl st to the corresponding chain 1 on the back seam of the first panel.
Work one last WS, RS row repeat down one front side, across the full bottom hem, and up the second front side.
-
Flip the shirt inside out. Join yarn at the neckline by the last WS row before the front decreases. Work a RS row, then begin repeating WS and RS rows. On the remaining RS rows, inc by adding a 3 dc on top of the first and last sc. Continue until the collar is the desired length, ending on a RS row.
-
Join the yarn on the bottom side where the two panels meet. Work a WS round all the way around the edges of the top, including the front sides and the collar.
Using the RS color, work a RS round replacing each dc with a sc.
Continuing in the RS color, sc in the back loop of each sc and in each ch 1 space. Replace select single crochets with ch spaces as needed to create the button holes on just one of the front sides.
-
Work a WS round in each armhole.
Using the RS color, work a RS round replacing each dc with a sc.
Continuing in the RS color, sc in the back loop of each sc and in each ch 1 space. Replace select single crochets with ch spaces as needed to create the button holes on just one of the front sides.
-
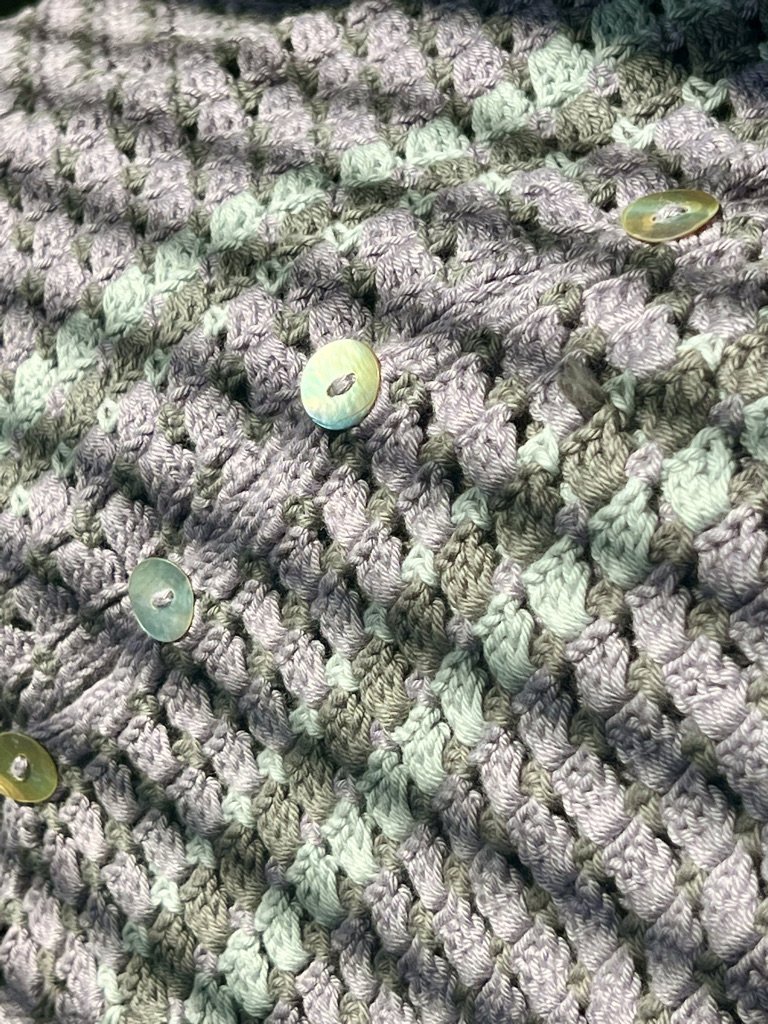
Sew buttons on the opposite front side of the button holes.
Sew in any loose ends.
Block your work.
If you made it this far, thank you for reading, and I hope you enjoyed making this pattern! Don’t forget to tag me on socials @jacqofyarns so I can see how you do!
This pattern is the property of JacqofYarns. Do not modify, resell or share this pattern. If you sell finished items made from this pattern please credit JacqofYarns as the pattern designer in the product listing.